Thinking About New Concrete Flatwork?
So, you're looking at that cracked patio, or maybe you're dreaming of a new, wider driveway for your home here in Carrollton. Concrete flatwork – things like patios, sidewalks, driveways, and foundations – it's a big part of what we do. And it's something a lot of homeowners consider tackling themselves. But before you rent a mixer and order a truckload of gravel, let's talk about what you're really getting into.
I've seen a lot of DIY concrete jobs over the years, some good, some… well, let's just say they ended up costing more to fix than if a pro had done it right the first time. The truth is, some parts of concrete flatwork are absolutely within a handy homeowner's reach, while others are best left to folks who do it every day.
Before You Start: Planning & Prep
This is where you can save a lot of headaches, whether you're doing it yourself or hiring someone. Good planning is non-negotiable.
- Measure Everything: Know your dimensions. Length, width, and desired thickness. This tells you how much concrete you'll need. Don't guess.
- Check Local Codes: Carrollton has building codes and sometimes permits are required, especially for driveways or anything that might affect drainage. You don't want to pour a beautiful new driveway only to find out you have to rip it out.
- Digging & Grading: This is crucial. You need to excavate the area to the right depth, usually 4-6 inches for patios and sidewalks, and 6-8 inches for driveways, plus room for a base. Then, you need to ensure proper drainage. Here in North Texas, with our expansive clay soils, proper compaction and a good base are critical to prevent future cracking and settling. You want water to flow away from your house, not towards it. A slight slope, about 1/8 inch per foot, is usually ideal.
- Formwork: Building sturdy forms out of wood or metal is essential. They hold the concrete in place and define its shape. They need to be straight, level, and strong enough to withstand the pressure of wet concrete.
- Base Material: For almost all flatwork, you'll need a compacted base of gravel or crushed rock. This provides a stable foundation and helps with drainage. Spread it evenly and compact it thoroughly. A plate compactor is usually needed for this. You can rent one.
- Reinforcement: For anything larger than a small stepping stone, you'll need reinforcement. This is usually rebar or wire mesh. It doesn't prevent cracks, but it holds the concrete together if it does crack, keeping the surface even. Keep it lifted into the middle of the slab, not resting on the ground.
What can you DIY here? Measuring, checking codes, and even some digging if it's a small area. Building forms can be done by a handy person. But for larger projects, especially those requiring significant excavation or precise grading, you might want to consider professional help. Getting the base and forms wrong will ruin the whole project.
During the Pour: The Concrete Itself
This is the make-or-break stage. Concrete waits for no one.
- Mixing: For small jobs, you can mix bags of concrete yourself. For anything over a few wheelbarrows, you'll want to order ready-mix concrete from a truck. This is where Carrollton Concrete comes in handy if you're looking for a reliable pour.
- Placing: Get the concrete into the forms quickly and evenly. Don't let it sit too long in the truck or wheelbarrow.
- Screeding: This means leveling the concrete by pulling a straight edge across the forms. It's harder than it looks to get it perfectly flat and to the right grade.
- Floating & Troweling: After screeding, you use floats and trowels to smooth the surface, push down the aggregate, and bring the cream to the top. This is where the finish happens. Too soon, and you'll just dig holes. Too late, and it'll be too stiff to work. It's all about timing and feel.
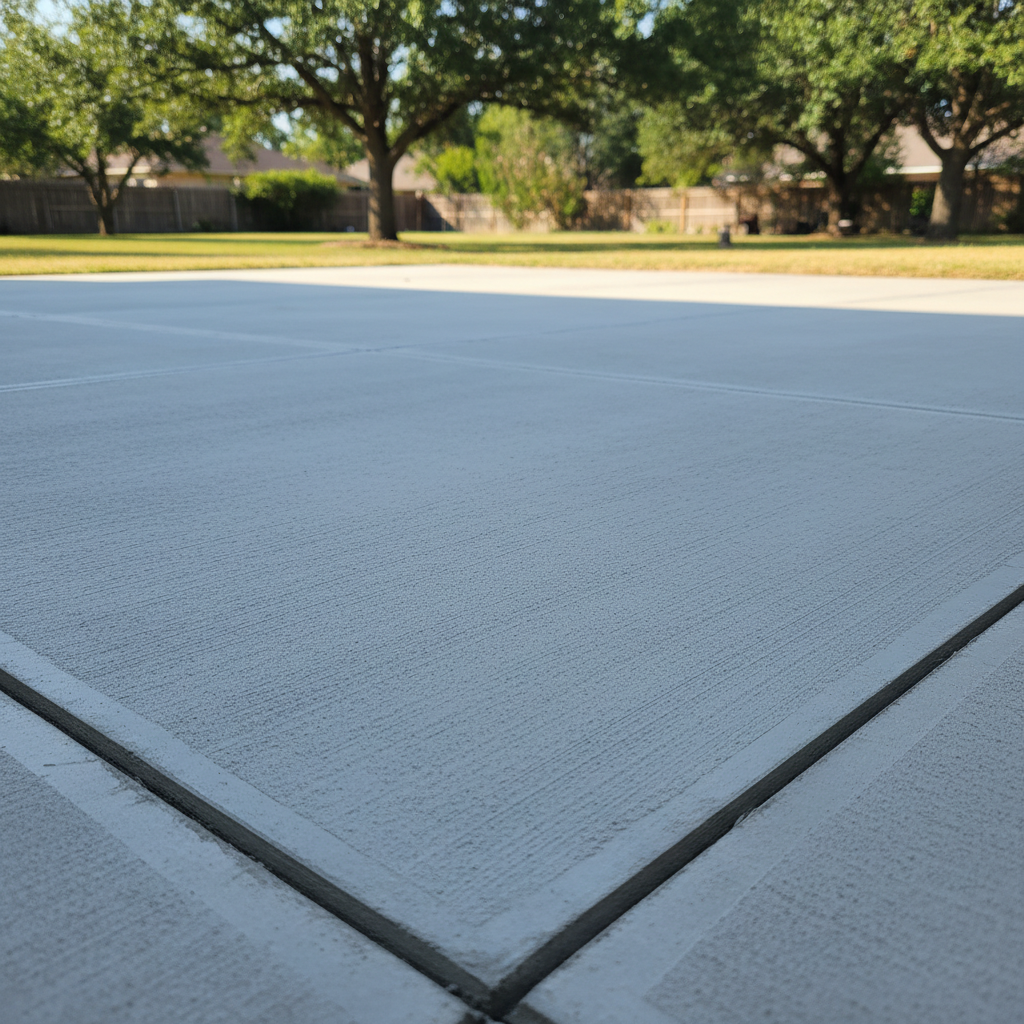
- Edging & Grooving: Edgers round off the edges to prevent chipping. Groovers (or control joints) are cut into the concrete to create weak points where it's *supposed* to crack. Concrete *will* crack; control joints just make sure it cracks where you want it to, in neat lines.
Unless you're pouring a very small pad, like for an AC unit, I'd strongly recommend calling a pro for the pouring and finishing. The timing, the tools, and the experience needed to get a smooth, durable, and properly sloped finish are significant. A bad pour can't really be fixed, only replaced.
After the Pour: Curing & Sealing
You're not done when the concrete is smooth!
- Curing: This is probably the most overlooked step for DIYers, and it's essential for strength and durability. Concrete doesn't just dry; it cures through a chemical reaction. Keeping it moist for at least 3-7 days (longer is better, up to 28 days) allows it to reach its full strength. You can do this by misting it with water, covering it with plastic sheeting, or using a liquid curing compound.
- Sealing: Once fully cured, usually after about a month, applying a good quality concrete sealer will protect your flatwork from stains, moisture, and wear. It's like waxing your car.
Curing and sealing are definitely things you can handle yourself. Just follow the product instructions carefully. They're simple steps that make a huge difference in how long your concrete lasts and how good it looks.
So, there you have it. You can certainly do a lot of the grunt work and prep yourself, especially if you're meticulous. But when it comes to the actual pour and finish, that's where the real skill and specialized tools come in. If you're tackling anything beyond a small, simple pad, don't hesitate to get a quote from a local concrete contractor. It could save you a lot of time, money, and frustration in the long run.